Windows is the go-to desktop operating system for millions of people across the globe. It is easy to use, customizable, and available for devices in every price class.
However, there are times when the experience of using Windows gets quite annoying. That is due to all the random bugs and issues. In this article, we are going to cover one of them.
How to fix the Windows search bar not registering keyboard input?
Has your Windows search bar stopped taking inputs from your keyboard? We would assume yes because that is probably why you are here. So, without further ado, let us get started with ways to resolve your issue.
1. Reboot your Windows computer
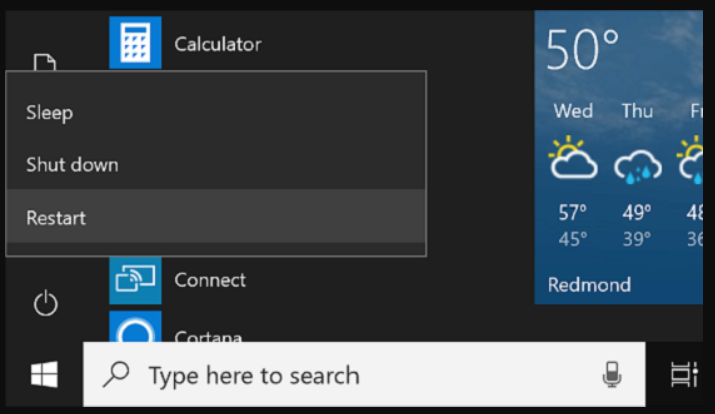
The suitable old method of fixing technical glitches on your devices is simply restarting them. Since all services and functionalities restart with the computer, temporary issues often get resolved independently.
So, perform a restart and see if the Windows search bar is back to working again. Additionally, do not forget to select the option to update and restart your computer if available. Updates are meant to fix issues only.
Another thing to note is that this guide assists Windows 10 users as well. However, we recommend you upgrade to Windows 11 nonetheless. If that is a concern, Microsoft has made this upgrade free for Windows 10 users. Staying on the latest software build helps more than you might think.
2. Check for malware
We often unintentionally install malware on our devices by clicking malicious links or downloading harmful files. These malware have the potential to create a lot of problems for us. So, whenever your computer starts showing issues, do not forget to check it for malware.
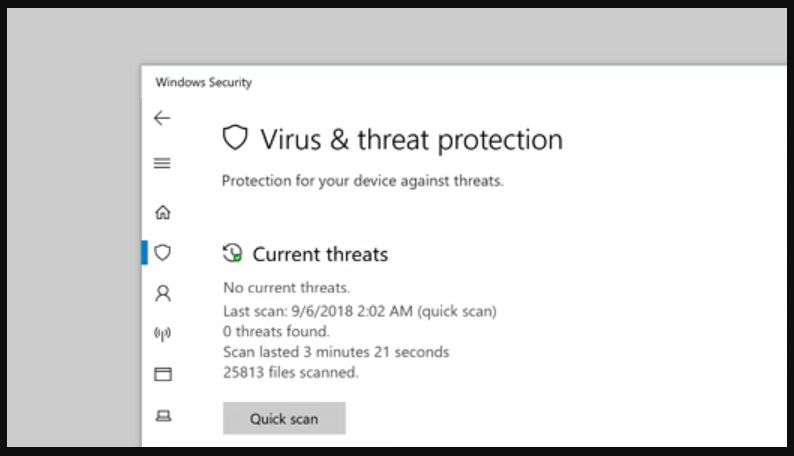
To do so, open Windows Security on your computer. You can find that in the programs list from the Start menu in Windows 10. On Windows 11, open the Settings app and go into the ‘Privacy & Security’ section from the left panel. You will find Windows Security right at the top.
Now, click on ‘Virus & threat protection‘. On this page, click on ‘Scan options’, which you will find under the ‘Current threats’ section. Select full Scan from the list of options, then click on Scan Now. If you do not find anything, then the problem in question is not there due to malware. But if you do, get rid of it immediately. Whether this resolves your issue or not, it is still quite important.
3. Run the troubleshooter
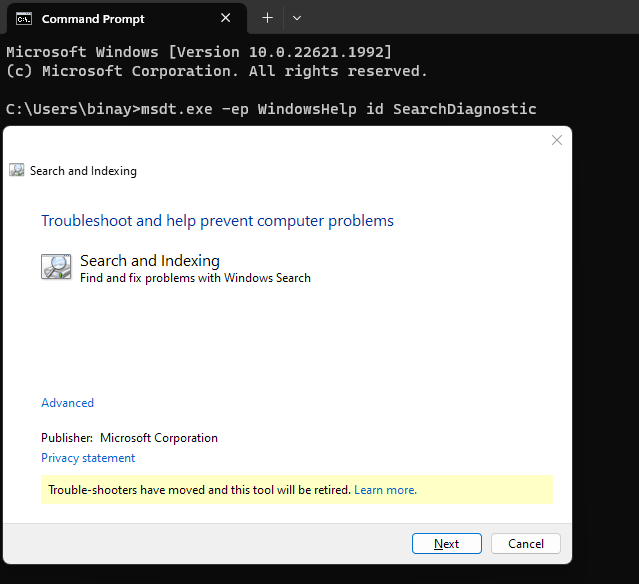
Launch the Settings app and search for troubleshooting settings. You can do that via the search bar of the Settings app. Alternatively, if you are using Windows 11, go to the System section present right up top on the left panel and then scroll down to the section named ‘Troubleshoot’. Head in there and open the other troubleshooter’s section. On this page, locate Search and Indexing and hit the corresponding Run button.
On Windows 10 devices, open the Settings app and head into the Update & Security section. After that, look for the option named Troubleshoot on the left panel. Click it and then click on ‘Additional troubleshooters’. Again, locate Search and Indexing and then run the troubleshooter.
Now, check if the problem persists. Try one of the other fixes if it does.
4. Restart Windows search
Open the Task Manager on your computer, and look for ‘Search’ under the background processes section. Select it and click on ‘End task’, which is located at the top.
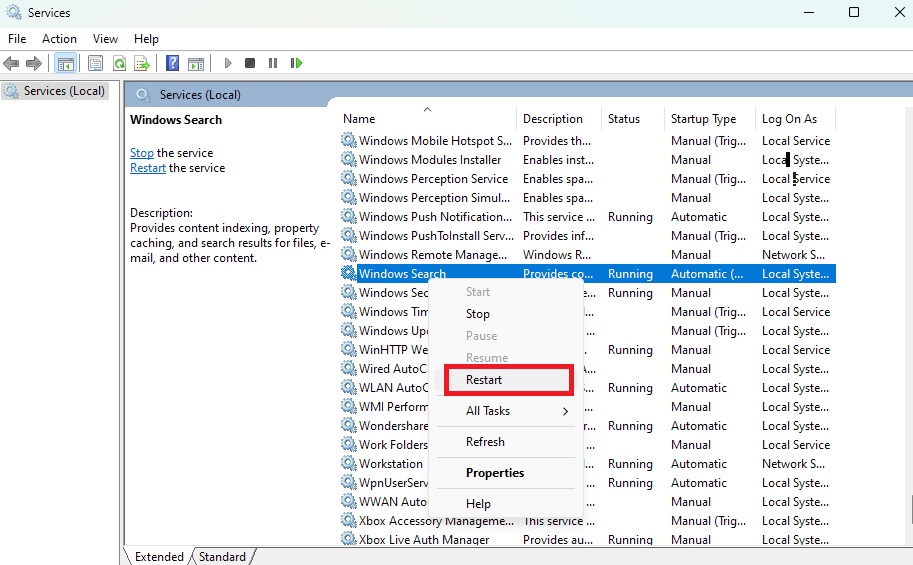
Once you have done this much, open the Run dialogue box by pressing the Windows key and the letter R simultaneously. Type ‘services.msc’ in the text field and hit OK or the Enter key. A new window will show up.
Look for ‘Windows Search’ in this window and right-click on it. From the menu that appears, select the option to Restart this service. Check whether your issue got resolved or not.
5. Perform an SFC scan
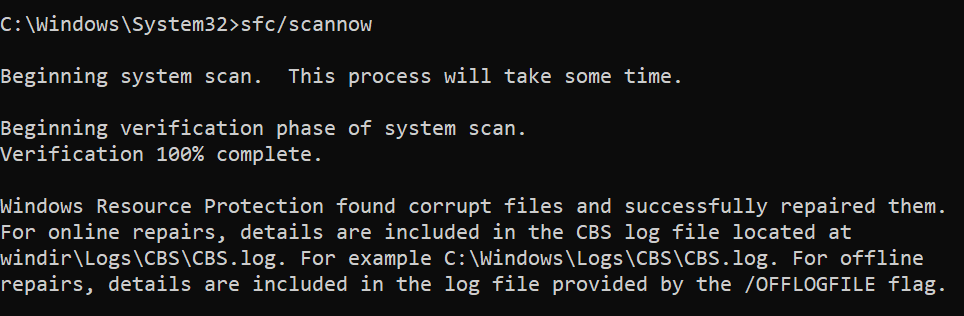
SFC stands for System File Checker. Performing an SFC scan looks for corrupt files on your computer and fixes them. It is always recommended to perform an SFC scan if your device runs into problems.
To perform an SFC scan, open the Command Prompt with administrator permissions. Type ‘sfc/scannow’ and hit Enter to run the command. Wait until the process is completed, which takes a while. Once it is over, check if you can use the Windows search bar properly again.
6. Run DISM
DISM, or Deployment Image Servicing and Management, is a Windows tool used to diagnose problems with the system image and then repair it.
To run a DISM scan, open the Command Prompt with administrator permissions. Then, run the command given below.
Dism /Online /Cleanup-Image /ScanHealth
After the Scan is complete, you will know if any reparations need to be done. Run the command given below to start the reparation process.
Dism /Online /Cleanup-Image /CheckHealth
You can also run this command without scanning first if you want. Wait for a while until the process is complete. Then, check if the issue is still there.
7. Rebuild Indexing Options
Launch the Control Panel on your Windows computer, and look for Indexing Options. Change the view to small icons from the menu near the top right for more straightforward navigation.
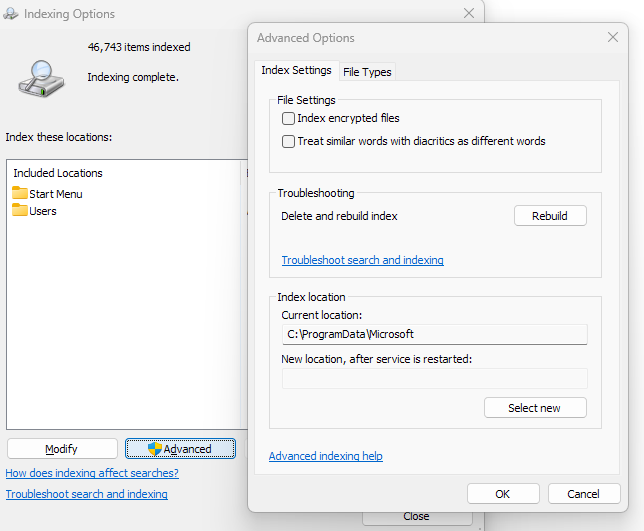
Click on Indexing Options, and you will see a new window. At the bottom of this window, you will see three options. Click on Advanced; another window will pop up.
On this window, click the Rebuild option under the Troubleshooting section. Once the process is complete, click OK, and your Windows search bar will work again.
8. Run CTF Loader
Collaborative Translation Framework Loader, or CTF Loader for short, ensures the connection between various elements of Windows. You can see how it may help bring the Windows search bar back to working condition.
To run the CTF Loader, open File Explorer and the C Drive. It is usually saved by the name Local Disk (C:). Now, head into the Windows folder. Once you are in there, open the System32 folder. Now look for the file named ‘ctfmon.exe’. Run it.
Alternatively, you can also do this via the Run dialogue box. Bring it up again by pressing the Windows key and the letter R simultaneously. After that, enter the path mentioned below in the text field and hit Enter.
C:\Windows\system32\ctfmon.exe
This will run the CTF Loader for you. Also, you might want to run the CTF Loader after every bootup. To do that, copy the ‘ctfmon.exe’ file first. Type ‘shell:common startup’ in the Run dialogue box. Paste the copied file in the File Explorer window that appears. The CTF Loader will now run after every startup.
9. Perform a factory reset
This is the last resort if nothing has worked for you. Back up all important files and data before you start since none will be preserved post-reset.
Also, there is one more tip we would like to share with you. If you primarily use the Windows search bar to open apps, you can use the Command Prompt or the Run window to do the same. That way, you will not have to go through all the hassle of resetting your device and setting it up again. You can check guides on the web to help yourself get familiar with either of these alternatives mentioned above.
Now, let us come back to the process of resetting your computer. First of all, open the Settings app. If you are using Windows 10, head into the Updates & Security group and click the ‘Get started’ button under the ‘Reset this PC’ section.
For Windows 11 devices, click on the System settings at the top of the left panel. Scroll a bit down, and you will see the Recovery menu. Click on it, and then click the Reset PC button.
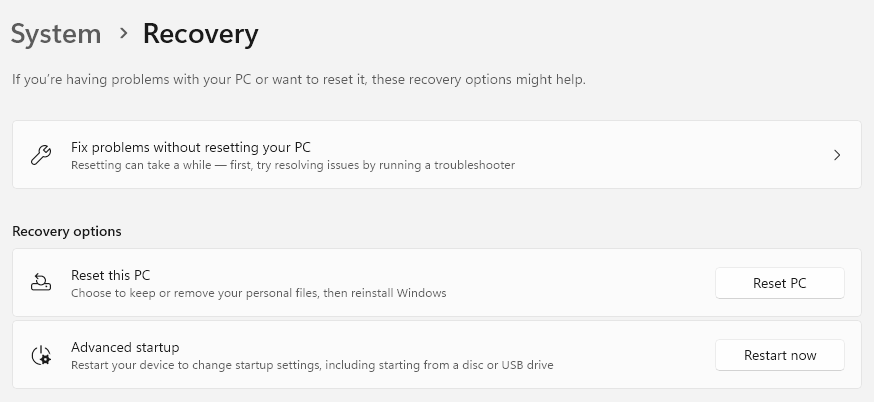
This should solve the issue for you, and the Windows search bar should be up and working again correctly.