One of the headline features for macOS Sierra was the Split View feature. It was first released in September 2016 and completely changed how you multitask on macOS. Earlier, there was no easy way to multitask on macOS unless you manually dragged the windows around. This also wasted a lot of space on the screen since the dock and menu bar took up the areas at the top and bottom (or the sides if you place your dock there).
With a first-party split view feature, multitasking becomes much easier on macOS. You can have two windows open side by side and adjust how much space each window takes up. You can do this conveniently in full-screen mode without wasting space because of the dock and menu bar.
Before this, you could only enter Split View with the Spaces feature. The feature lets you create and switch between multiple desktops on your Mac. These virtual desktops allow you to organize your application windows into numerous workspaces. You can still use multiple desktops and switch between them with the trackpad or the keyboard on macOS.
However, it isn’t as convenient as using the Split View feature. This feature reduces clutter, letting you focus only on two things simultaneously. It boosts productivity, too. Unfortunately, Apple still does not allow you to snap your application windows, and you still cannot do that to enter split view. The feature also works for external monitor setups. It was the only real multitasking feature on macOS until the introduction of the Stage Manager in 2022.
Want to use this feature on your Mac? This article will show you how to access Split View on your device.
What can you do in Split view?
There are plenty of practical use cases for the feature. You can use it to compare two documents side by side, and it’s beneficial for students who want multiple books open simultaneously for reference. It’s also helpful for editing documents and comparing the original and new versions.
It’s beneficial for working on two projects simultaneously, too. If you want to juggle between multiple tabs, it makes the process a lot more convenient. For example, you can use your mail on one side and have a different browser tab or a Pages document open on the other. It’s beneficial if you have to paraphrase information from another area.
With Split View, you can watch a video while working on something else. For online courses and tutorials, this can massively boost your learning. You can listen to a tutorial while working on a project or watch a video podcast while working on an email. You can open a tutorial video or page on one side and your code editor on the other.
It’s also handy for designing and researching. You can have your design software open on one side and reference material or older design drafts open on the other. People commonly use the feature for video calling, too, where one side of the screen shows the video, and the other can open a website or PDF.
Since it lets you use the entire screen real estate, it’s also good for research. You also have the option to create multiple desktops- so you can make several combinations of two applications. You can open a video and a coding compiler on one desktop, a document, and the Notes app on another.
6 Ways to Split Screen on Mac
There are several ways to enter this mode on macOS. The most common way is through using the buttons on the top left of an application.
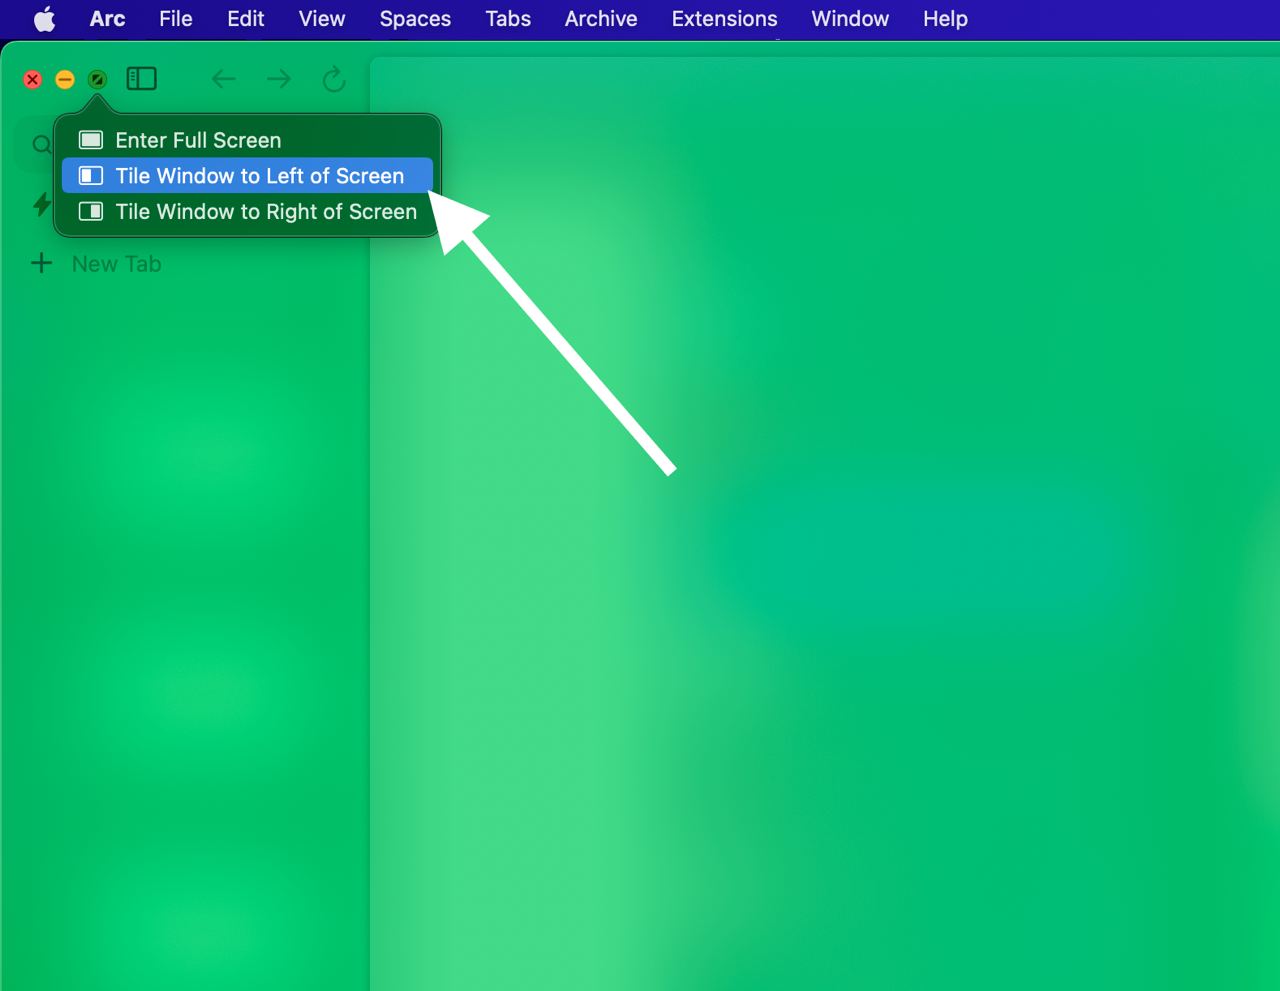
1: Use the Green button at the top left
- Since the feature works for any two applications, open both of the apps of your choice.
- If you’re in full-screen mode, hover your mouse pointer to the top left of the page until the three dots appear. You need to use the green dot to enter split-screen mode.
- Move your pointer to the green dot, but do not click on it. Wait for a split second until the dropdown menu appears. You’ll find three options here. The first one exits full-screen mode. You have to click on exit first since macOS does not let you directly enter split-screen mode from the full-screen view of any app unless you use Mission Control, which we’ll explain in the next section.
- Then, choose one of the other two options as per your preferences. If you want your currently active window to appear on the left, click “Tile Window to the left of Screen.” If you want it to appear on the right, click “Tile Window to the right of Screen.” The window will now move to the corresponding side of the screen.
- If no other window is actively open on the desktop, your app will move sharply to either the right or the left, and the other side will display the message “No windows available.”
- If there are other active windows, you must pick the window you want to open on the other side. Since we already opened the other app of our choice, it should appear on the other side. Click on it, and you will have successfully entered Split View.
- Navigating from here is pretty straightforward. All cursor movements work regularly, and clicking on either side makes the side active.

2: Using Mission Control
Note: The words Desktops and Spaces can be alternately used on macOS and refer to the same feature.
- To use Split View on macOS with Mission Control, open two apps that you want to use in Split View. You can either open them from the dock or the Launchpad tool. You can also search for the app you want to open in Spotlight.
- After opening the two apps you want, you have to enter Mission Control. You can use the three-finger trackpad gesture to achieve this. Swipe up from anywhere using three or four fingers on the trackpad, or press the F3 shortcut at the top of the keyboard. There are ways of entering this mode, too. If you have the Touchbar, tap the Mission Control button. Double tapping the surface of the Magic Mouse will also open Mission Control.
- Alternatively, you can add the Mission Control shortcut to your dock. Open the Finder app and navigate to Applications. There, Search for Mission Control and drag it to your dock. Clicking on the Mission Control icon on the dock will open your recent apps in Mission Control view.
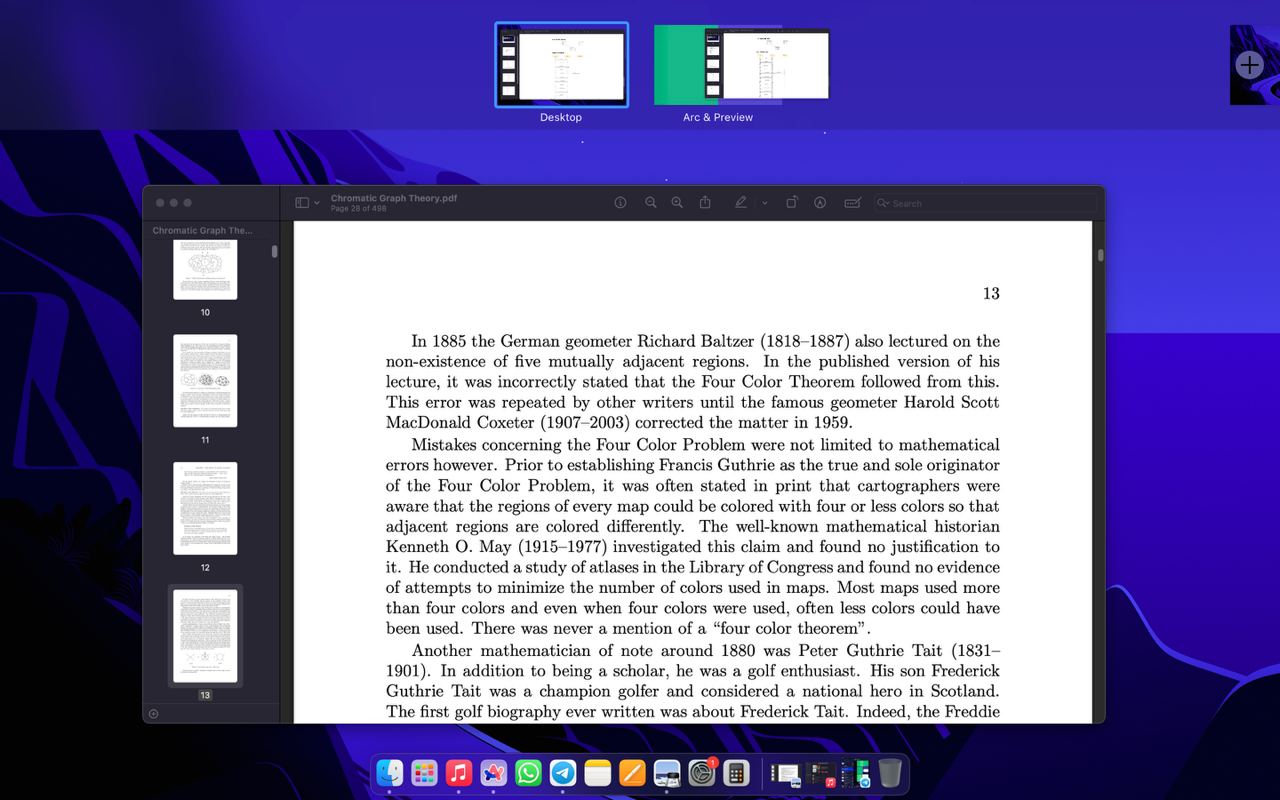
- After this, you’ll see a thumbnail of all the windows on your Mac. Drag one of the thumbnails from the Spaces (Desktops) bar into the preview/ thumbnail of the other window that appears on top.
- Your windows will now be aligned in a Split View in a different space. Go to the new space created and adjust the size of your windows according to your preference. You’ll see a divider between them, which you must drag either left or right to adjust the size.

3: Using Keyboard shortcuts
Keyboard shortcuts are an easy way to enter this mode without using your trackpad or mouse, and it’s convenient for some people. If you have multiple windows and you want to switch between them, you can use Keyboard Shortcuts. You can use these shortcuts to enter Split View with any two apps that the feature supports and it also works with external displays.
- Press the Control key on your keyboard, then press the Command key, and finally press the E key. Control+ Command+ E should open Split View with the currently active windows if supported. There are other keyboard shortcuts you can use, too.
- Press the Control key, then the Command key, and then the Left Arrow key. This will tile the window currently selected to the left. Alternatively,
- Press the Control key, then the Command key, and finally the Right Arrow key. What this does is self-explanatory; your selected window will now be tiled to the right.
- You can press the Control and Up Arrow keys to enter Mission Control. From here, you can follow the steps from the previous section. Drag the window to the top and release it to open the apps in Split View in a separate Space.
- You can also use the App Expose feature with keyboard shortcuts on macOS. Make sure that the app you want in Split View is active. Then press Control and Up to activate the Expose feature for that app. You can drag and drop from here to open your apps in Split View.
- After dragging your desired app to the desktop space and selecting the second app, you can adjust it with the divider in the middle and resize it accordingly.
Does your app not support the split-screen view?
While most popular applications like PDFs and Browsers should support Split View, some apps may not work with it. For example, applications with fixed window sizes can’t use Split View, like the default System Settings app. Most first-party system apps, like the Calculator and Apple Music, don’t support it. Apps with Custom UI also don’t support Split View. Some apps have unique window behavior and aren’t compatible with this.
Several video editing and photo editing tools, Graphic Design applications, and Games don’t support this feature either. They particularly require the entire screen to function correctly, and as a result, they won’t work with Split View. macOS will show you an error message if you try to enter Split View with an app that doesn’t support the feature.
If you’re sure that the app you’re using supports Split View, make sure your Mac is a post-2015 release. Macs launched before this don’t support this feature. All versions after Sierra support this feature. Unfortunately, popular apps like VLC Media Player and iMovie don’t yet have Split View.
If the VLC Media Player gets Split View, it’s handy to type or design something while a video or guide plays on one side. It’s tricky with iMovie since you must adjust the entire video timeline to fit half the screen and display the preview. However, the app still doesn’t support it.
Ensure that the Displays have separate spaces option is turned on, too. You can find this option in Mission Control settings in the System Settings app. If it still doesn’t work, update your app to the latest version and restart your device.
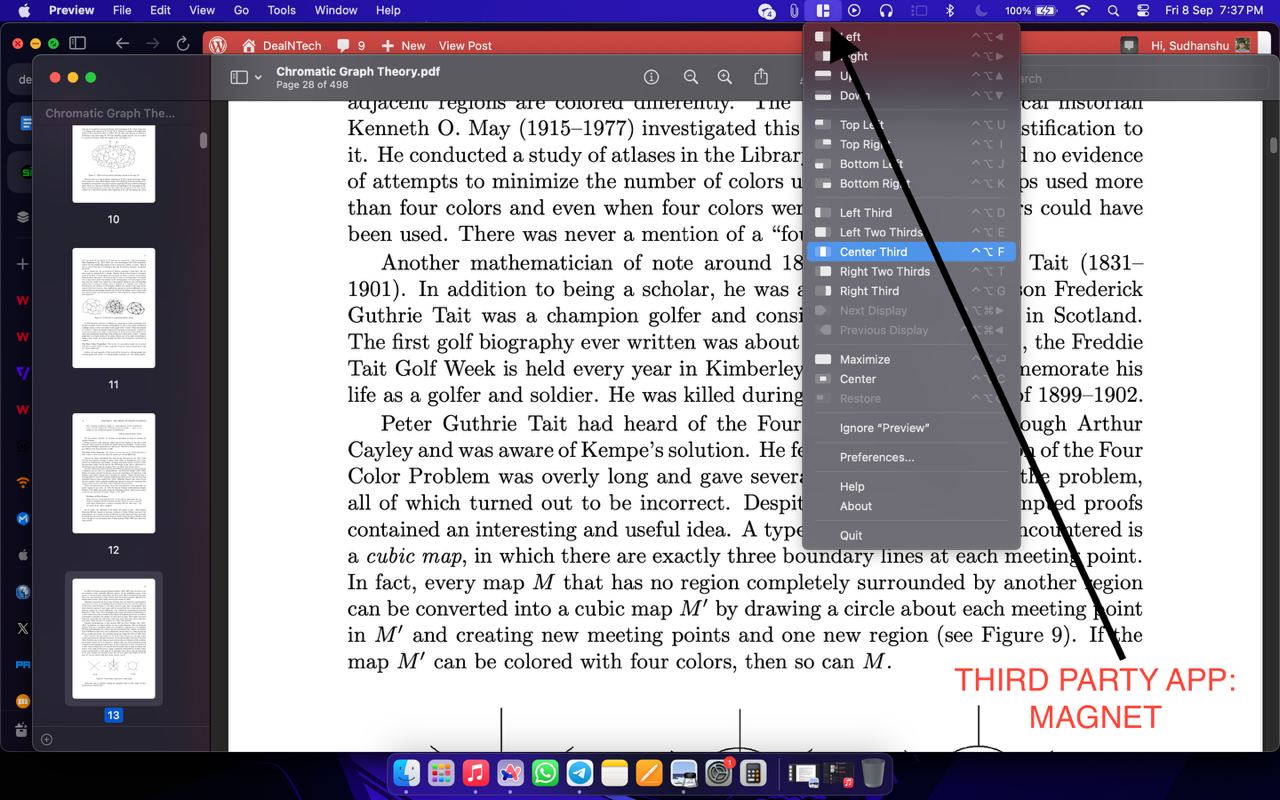
4: Third-party applications
There are several third-party apps you can use for Split View on macOS. You can download apps like Magnet or Rectangle to enter Split View. Since macOS doesn’t support window snapping, these third-party apps give you that functionality. With apps like Magnet, you can either use the keyboard shortcuts or control the entire interface from the icon on the menubar.
You can drag a window to the extreme for it to snap to the right. Similarly, you can drag a window to the left if you want it to snap to the left. You can then open the other window and snap it to your required size.
Just hover your window at the top to go full screen, and it’ll also display a preview of how much space the window will take up if it is at a particular corner. If a window can’t be more narrow, it’ll also show that as a message. You can choose to automatically show and hide the menubar and the dock to utilize the maximum space on your screen. They take up a sizeable chunk of the bottom and the top.
There are also other third-party applications like BetterSnapTool for window management on macOS. It works similarly to Magnet, and these tools work brilliantly if you don’t want to resize the windows in full-screen mode.
Finally, there’s the Arc browser for macOS, which you can use to split your screen. However, this only works for web pages and not other apps. You can use Arc to split your browsing into two and resize the pages to align them properly. Since the Arc browser has all your current tabs on the left and you can hide them all, it’s convenient and uses screen estate meaningfully.
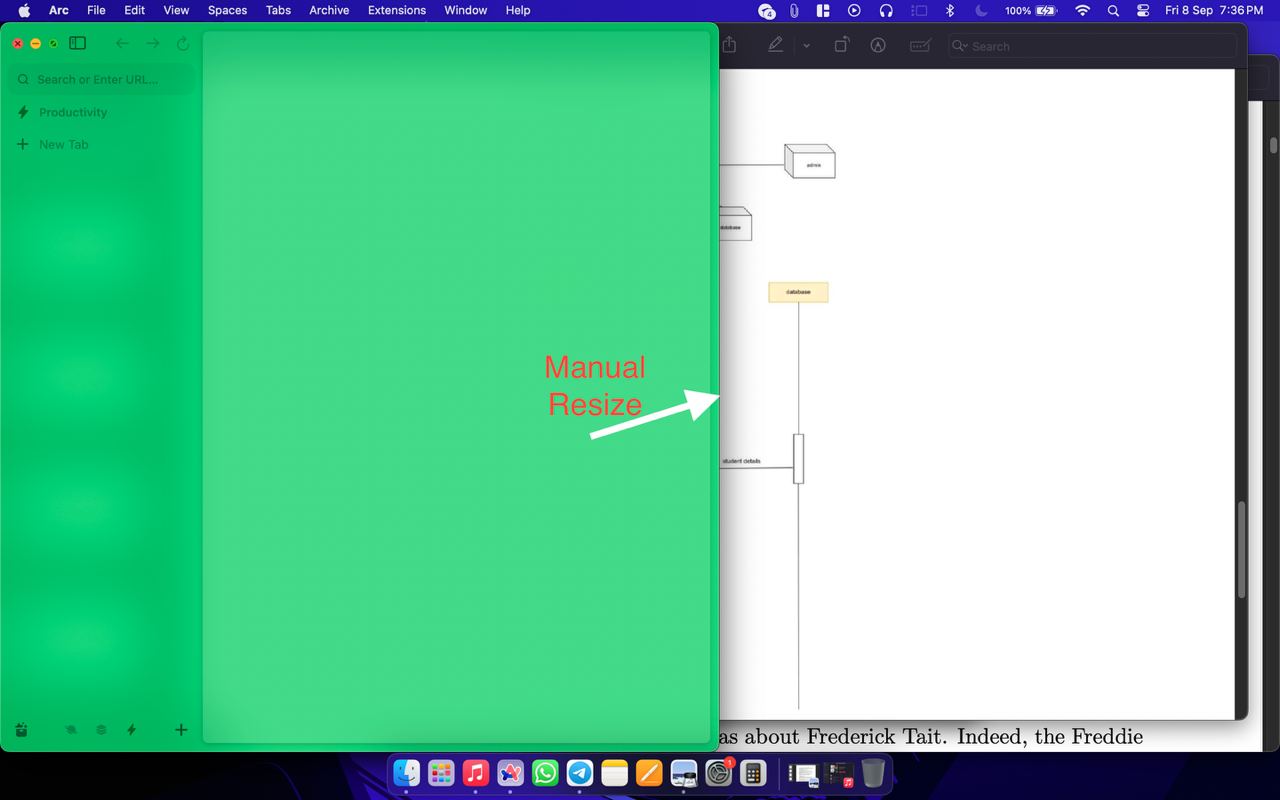
5: Manually resize the windows without entering full-screen
If you don’t like using full-screen mode or want your Menubar and Dock visible at all times, you can still use your trackpad to drag windows around. Trace around the borders and adjust the size accordingly. You can pull the window to the right from the left and the left from the right. Similarly, you can arrange your window positioning from the bottom to the top.
This has even more flexibility than the stock feature since you can now adjust the windows freely without the bar in the middle.
6: The Stage Manager Feature
With macOS Ventura, Apple introduced the Stage Manager feature. You can use it to stay focused on your task easily. It automatically organizes your apps and windows to the left of the screen. Clicking on an icon will switch to the other app. Windows are stacked together if there are multiple windows from one app.
However, you can also use it to replicate Split View. Enter the Stage Manager mode, and drag out the window you want in split view. You can easily rearrange the resulting windows on the screen.
How to Exit Split View Mode
After finishing Split View, you can easily exit it and return to normal window mode.
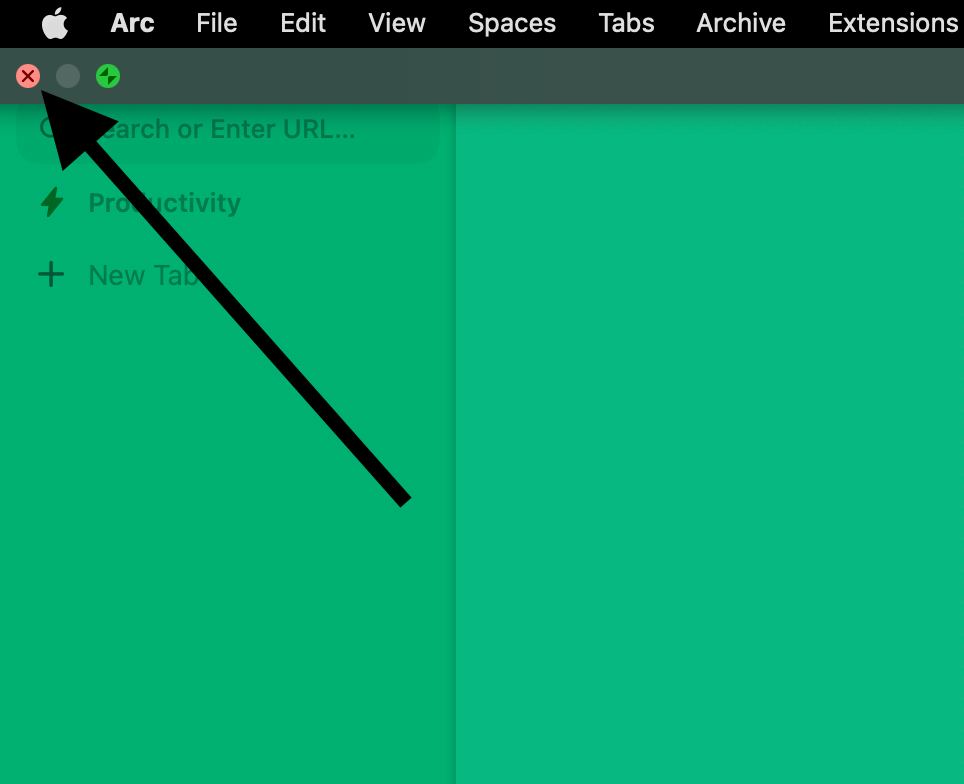
- Move your pointer to the top left area. This will reveal the three dots that represent the window buttons.
- Click the red button to close the window. If you choose the green window, it’ll exit full-screen mode and Split View. You can swipe up, enter mission control, and re-enter the window if you’d like to. Exiting the split screen doesn’t close all the windows; it just minimizes them.
Frequently asked questions
1. Can I use multiple screens in Split View?
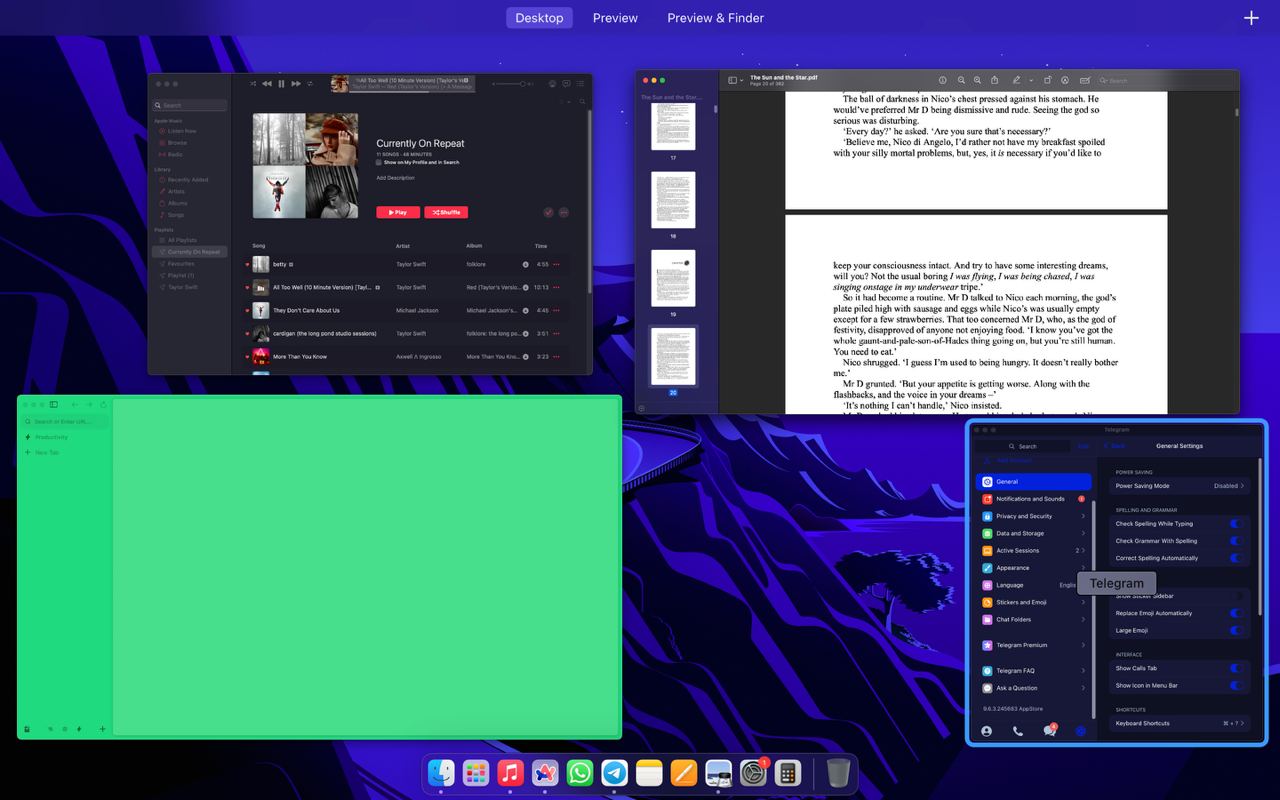
Yes, you can use multiple Split View modes at once. You can create a Space/ Desktop with the Split View of two apps, minimize it, and open a blank desktop. From here, you can open the other two apps or browser windows that you want in Split View.
Once you enter full screen, you will have four apps open- two in split view in one space and two more in another space. You can create how many you want to, but ensure you don’t overwhelm your CPU and RAM. You can seamlessly switch between them using the trackpad gestures, Mission Control, or keyboard shortcuts.
2. Can I use Split View on multiple desktops?
Yes, you can easily use it on multiple desktops. You can create a new desktop space and follow the same steps to enter Split View.