Team Win Recovery Project, or TWRP, is an independent recovery software for Android devices. At first, it was developed strictly for Nexus devices, but later on, it was made available for a lot of Android devices. In this article, we will guide you on how to install TWRP without rooting your Android device. Let’s further get into the topic.
What is TWRP?
It is a custom recovery software that allows users to wipe, install, backup, and save firmware on a device. Whenever you want to install a custom ROM, TWRP helps a lot. Also, you need to unlock the bootloader before you use TWRP. One advantage of TWRP over simple recovery mode is that in simple recovery mode, you don’t have access to touch it and control it; you have to depend on your side navigation keys, but in TWRP mode, it will give you GUI to control it which means you can touch and interact with it. Another advantage is that you can take a backup of your stock ROM and restore it when needed.
Things you need before installation of TWRP
-
Android SDK platform-tools:
It includes tools like adb, fastboot, systrace which are required for Android development. It can also be used when you unlock the bootloader. These tools are compatible with all versions of Android. There are three versions of the Android SDK Platform Tools. Select the desired platform and download it. The file will be downloaded in zip format.
-
TWRP file:
This is a crucial part of the process, so be extra careful while downloading it. Look for the “Devices” section on the TWRP website, which is located in the upper left corner. Now, look for the correct file for your specific device. You can search your OEM or manufacturer from the list, or you can type in your OEM in the search box and find it. Once you go into your device’s TWRP page, scroll down and look for a download links section. There are two regions viz. America and Europe. Click on the desired region, and you will be pushed to the download page. Now select the latest “TWRP.img” file and download it. The name of the file may be different for different devices. The download size will vary as per your device.
Steps to install TWRP on any Android device safely
Before following the steps, remember to charge your phone above 70%.
- Firstly, extract the SDK tools that you downloaded to a location where you can access them easily. Also, copy the TWRP.img to the folder where your SDK tools are extracted.
- Now, on your Android device, go to Settings>About Phone>Scroll below on the page, and you will see a “Build number” button. Tap it 7 times to enable the developer mode.
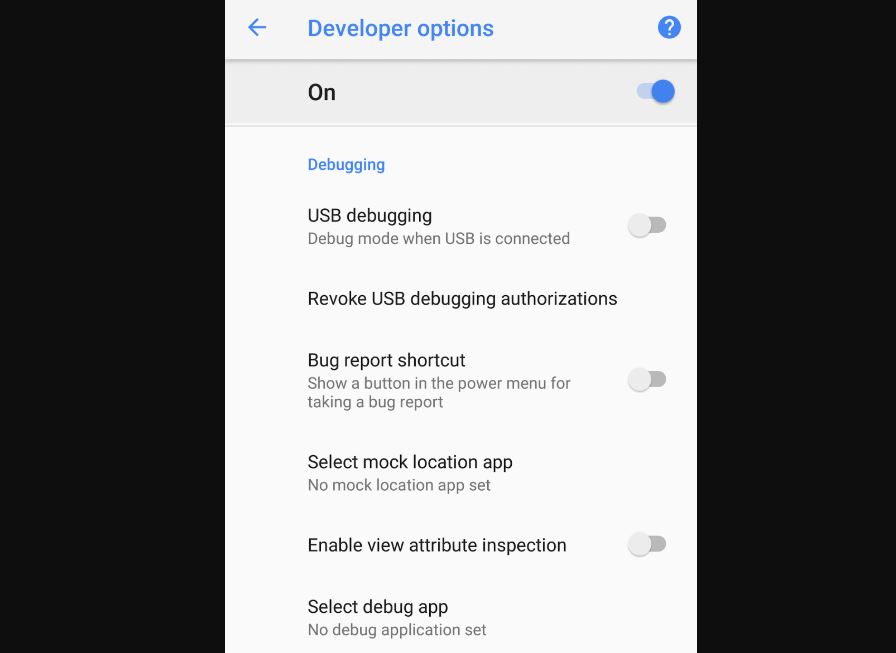
- Now again, go to Settings and head to Developer options. Locate the USB debugging option and turn it on. In the same developer options menu, search for “OEM Unlocking” and enable it. You will get a confirmation Dialog box to enter your security code, and it will also mention that your device protection feature will be withdrawn on unlocking the bootloader. Keep in mind that unlocking bootloader will erase all files, including your personal files, so be sure to keep a backup. The bootloader will be unlocked upon device startup.
- Now, connect your device to your PC or laptop using a USB cable. A message may pop up asking you to allow USB debugging. On the pop-up, tap on “Always allow on this computer” and click on the OK button.
- Go to the SDK folder now, and inside the folder in an open space, hold SHIFT button on your keyboard and press the right-click button on your mouse. A menu will appear, and on the screen, click on “Open PowerShell window here”. A PowerShell window will open. The PowerShell window is identical to the Command Prompt window. It is a new tool introduced, especially on Windows 10.
- In the PowerShell window, type the following command and press enter.
adb devices
- Your device will be listed. Now type the following command and press enter.
adb reboot bootloader
- Your device will enter into bootloader mode now. Type the following command and press enter.
fastboot flash recovery twrp.img
Note: In place of ‘twrp.img”, you may have another file name specific to your device. In our case, we tried for Realme 3 device and the file name for this device is “twrp-3.3.1-1-spartan.img’ So the command line for the device will be:
fastboot flash recovery twrp-3.3.1-1-spartan.img
- Now, the final step. Type the command and press enter.
fastboot boot twrp.img
or in our case
fastboot boot twrp-3.3.1-1-spartan.img
- Your device will now restart, and a TeamWin trademark will appear on the screen, and the installation process will be started. It will take about 4-5 minutes, depending on your device.
- After the installation is complete, a set of controls will appear where you can select either to install, wipe, backup, or save.
That’s all for the TWRP guide. We hope it will help you. Let us know in the comments about your journey with TWRP, and feel free to drop any query related to TWRP. Until then, take care and stay safe.