In the latest Windows 11 (ISO), Microsoft announced the direct integration of Microsoft Teams in Windows 11. That means the latest Windows 11 comes with the Microsoft Teams Chat in-built; you don’t have to install it separately. The Taskbar comes with the Microsoft Teams Chat app as pinned by default. It’s a pretty useful feature for the users of Microsoft Teams Chat. On the other hand, it is an annoying feature for users who don’t prefer using the Microsoft Teams Chat application. So, in this post, we’ll mention the steps to remove the Microsoft Teams Chat icon from the Taskbar of Windows 11.
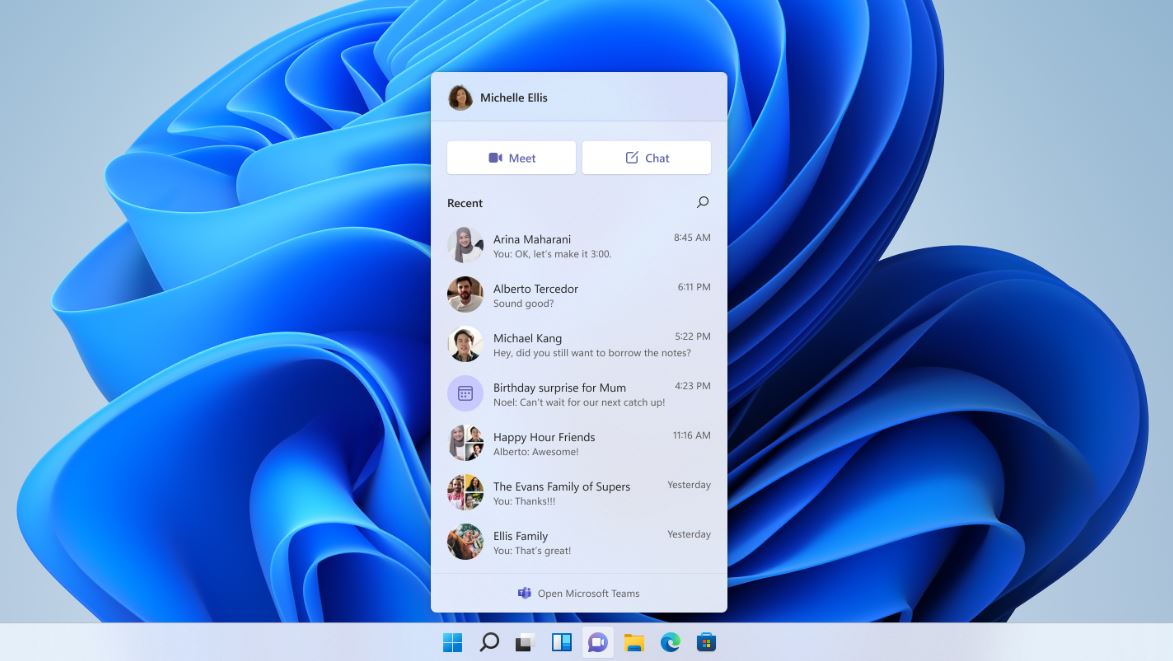
Just like Windows 10, Windows 11 comes with many apps pinned by default in the Taskbar of Windows 11, such as Microsoft Teams Chat, Search icons, Home icon, Microsoft Stores, Microsoft Edge Browser, and much more. The Taskbar will be automatically added to the Taskbar as soon as you log into your Microsoft account and boot up your PC.
Steps to remove/hide Microsoft Teams Chat app from the Taskbar of Windows 11
To remove/hide the Microsoft Teams Chat button, First, go to the Settings application, then go to the Personalization section; now, head over to TaskBar and click on it. You will now see options to hide/enable pinned apps from the Taskbar. Now, find the Microsoft Teams Chat application and untick it. The application will now be hidden from the Taskbar.
Steps to Uninstall Microsoft Teams Chat application from Windows 11
Uninstalling the Microsoft Teams Chat app is a pretty simple process; go to Settings >> Apps >> Apps and features. Now, find the Microsoft Teams Chat application and click on the Three dots beside it. Click on it, and you’ll now find two options: Uninstall and Advanced. Now click on the Uninstall button. The application will now be uninstalled successfully.
Steps to Disable Microsoft Teams Chat in Windows 11
If you think you might use the application in the coming days but don’t want to hide and uninstall it. You can simply disable the application from the settings. To disable the application, go to Settings >> Apps >> Apps and Features>> Microsoft Teams Chat. Now click on three dots and click on the Advanced option. Now, turn the option to NEVER under Background Apps permission. Also, turn off the options present under Runs at log-in. Hurray, your application has been disabled successfully.
Wrapping things up, we hope you have followed all the steps correctly, and it worked successfully.