Microsoft made it easier to mount the ISO file, starting with Windows 8. From Windows 8, we get an official built-in application using which we can mount an ISO file to either a virtual CD or DVD drive. The same goes for Windows 11; it also comes with the official application to mount ISO files.
What is an ISO file?
ISO images are another name for ISO files. It’s a single file that represents the full CD or DVD perfectly. Consider an ISO file to be a box that contains all of the components for anything that has to be assembled, such as a child’s toy that requires assembly. The toy components arrive in a box that serves no use as a toy, but once taken out and put together, the things within become what you wish to use.
In the same way, an ISO file functions. If the File can’t be opened, assembled, and used, it’s useless. Because the program’s contents may be neatly packed as a single file, ISO images are frequently used to deliver big applications via the Internet. Even Microsoft used the same to release a preview of Windows 11 to insider users.
Ways to Mount an ISO Image in Windows 11
There are two ways in which you can mount an ISO file in Windows 11. Let’s check the first and easiest method to mount an ISO file in Windows 11.
Method 1:
To begin, open File Explorer first. You can either open it by pressing Windows+E, or you can open it by searching in the search box of the start menu. Now locate the ISO file and double-click on it; it will mount the ISO file and be available as a folder file. Now, you can run and extract any word seamlessly using the folder of Windows 11.
Method 2:
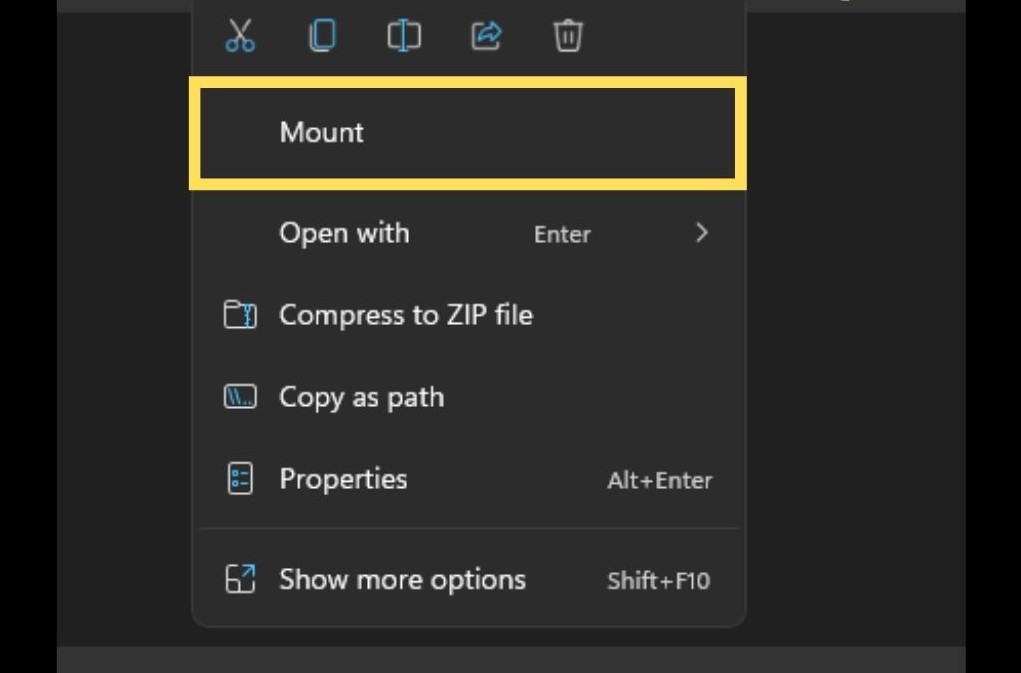
In this process, you will have to open File Explorer again using either the Windows+E shortcut keys or by searching in the start menu. Now, go to the folder where the ISO file is located. Now right-click on it; when the right-click context menu comes, click on the Mount button. Hurray, your ISO file has been successfully mounted.
Unmount the ISO file in Windows 11
If you’ve finished mounting your ISO file and believe it’s done its job, you may quickly unmount it in a few simple steps. Let’s examine the procedures for unmounting an ISO file in Windows 11.
First, open File Explorer and locate the mounted ISO file. Now, right-click on the virtual CD drive to open the context menu. In the right-click context menu, you will get an option, namely, eject; click on it, and it will successfully unmount the ISO file in Windows 11.
Having said that, what do you think about the steps mentioned above using which you can mount or unmount any ISO file in seconds? Do let us know by dropping a comment in your words below.