Apple unveiled iOS 17 at the WWDC 23 just three days ago. It is the latest iteration of its phone operating system. All iPhones launched after the iPhone XS, including it, can be upgraded to iOS 17. However, the public beta and stable release are still a few weeks away.
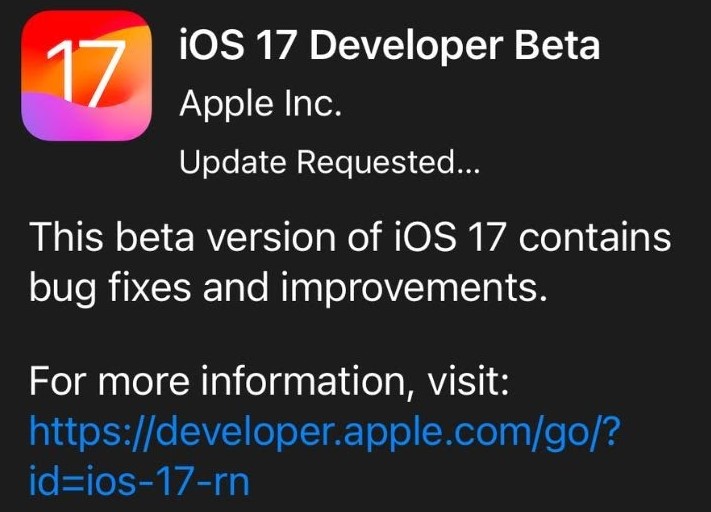
For now, only the Developer Beta has been made available. Users enrolled in the Apple Developer Program can upgrade their iPhones to the Developer Beta 1. In recent news, some people who are trying to install the beta build on their iPhones are reporting being stuck on the ‘Update Requested’ screen.
This could be due to huge traffic overloading Apple’s servers. New iOS builds stay in high demand for some time, which causes this traffic on Apple’s servers.
How to Fix iOS 17 Stuck on Update Requested?
There are several ways to fix this issue. They are listed below, and you can try and check what works for you.
1. Check your network
First of all, check your network connection. Make sure you have a stable internet connection at all times. Try restarting your router as well to remove all scope of error from your side. Do this and check if you passed the ‘Update Requested’ screen.
2. Force quit the Settings app
If you are still stuck, try force quitting the Settings app. You can do so by opening the Recent Apps menu and then swiping up on the Settings app. Wait a minute or two and reopen the app to check for progress.
3. Use UltFone iOS System Repair [No Jailbreak & Quick]
Solving the “iOS 17 Stuck on Update Requested” problem with UltFone iOS System Repair is easy. This tool offers a fast, secure solution without jailbreaking, ensuring your data remains intact. With just a few clicks, you can swiftly resolve the issue and get your iOS system back on track. It supports all iOS versions and iPhone models, including the latest iPhone 14 series and iOS 17 Beta/iPadOS 17 Beta.
Here is how to use it:
- Download and Launch UltFone iOS System Repair. Connect your device to the computer. Click “Start”.
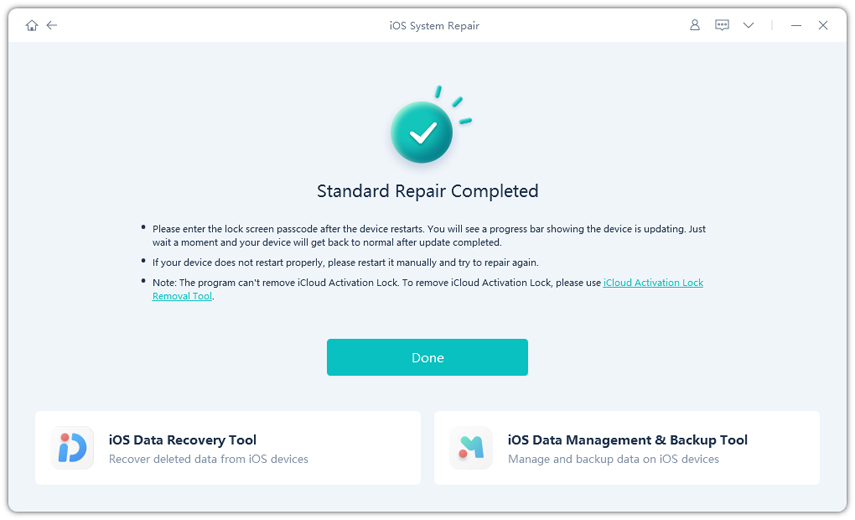
- Then select “Standard Repair”.
- Select the “Download” option before proceeding with the system repair to acquire your device’s automatically matched firmware package. If you downloaded the firmware before, please import it by selecting “local import firmware”.
- Click “Start Standard Repair” to solve the iOS issues within a few minutes.
4. Clear some of your internal storage
IPhones often start showing errors in installing updates if enough internal storage space is unavailable. Try the whole process again after deleting some files or media that are not important to you. You can also transfer these things to a computer or another device and then transfer them back later.
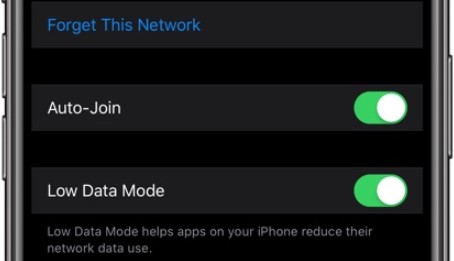
5. Switch off Low Data Mode
Low Data Mode reduces the usage of the internet over whichever network you are connected to. So, turning it off may solve the issue. To do so, open the Settings app and head into the Wi-Fi section. Here, you will see which Wi-Fi network you are connected to. Tap on the ‘i’ button next to whichever network that is. Now, you will see a toggle switch for Low Data Mode. If it is switched on, then turn it off. After that, turn off your iPhone’s Wi-Fi and then turn it back on. Now, check if the issue is resolved.
6. Delete the iOS file
Launch the Settings app and go into the General section. Check your iPhone Storage to see if any file named iOS 17 exists. If there is, then delete it and restart the whole process of downloading iOS 17 Developer Beta 1 on your iPhone.
7. Restart your iPhone
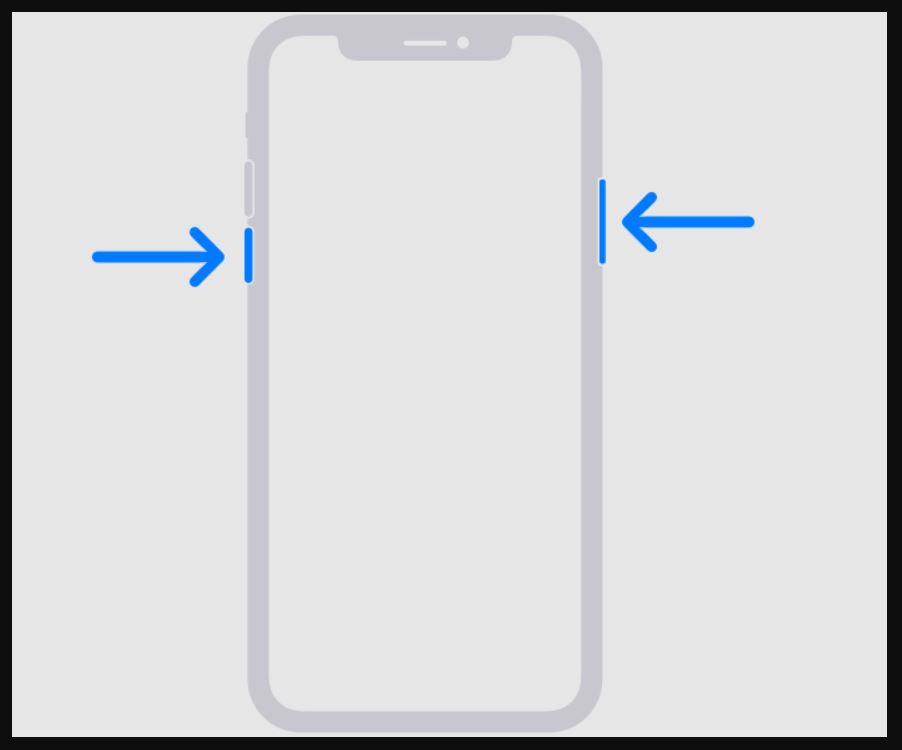
The good old trick of fixing things on your phone is restarting it. Hold the power and Volume Down buttons simultaneously for a few seconds until you see the option to ‘slide to power off.’ Let your iPhone rest for a while, then boot it up again by holding the Power button until the Apple logo is visible. Once your phone boots up, head into the Settings app and see if there is any progress. Restart the whole process of updating if necessary.
8. Sign out of your Apple ID
If none of the above-mentioned methods has worked till now, try signing out of your Apple ID and then sign in again. To do so, you have to open the section containing your Apple ID settings in the Settings app. This section can be accessed by tapping on your name at the top of the Settings app. After that, scroll down to the bottom, and you can sign out of your Apple ID. Then, sign back in. Once all of this is done, install the Developer Beta again if necessary.
9. Reset network settings
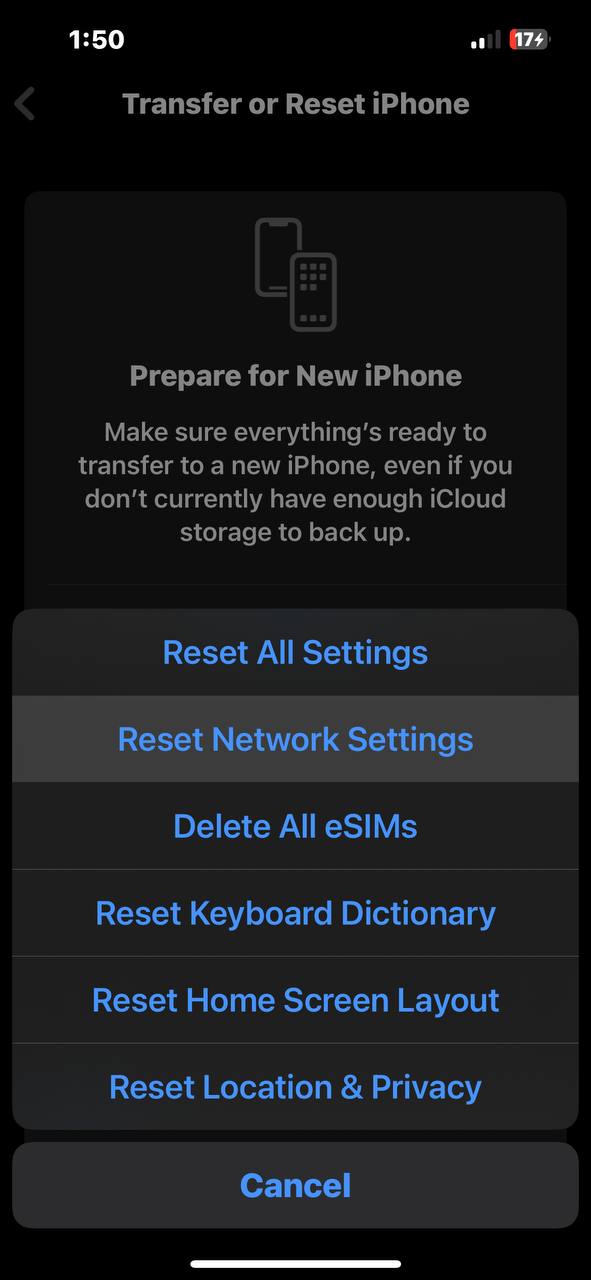
If you still have not found luck, go ahead and reset the network settings. This will switch all your network-related settings back to default, and you will have to set up all of them again. Open the Settings app and head into the General section. At the bottom of this page, you will find an option to Transfer or Reset your iPhone. Tap on this option, then tap on Reset on the next page. Now, you will get a pop-up menu with several options. Select the option to Reset Network Settings. Once this is done, download the update again to see if it works this time.
10. Reset all settings
If the issue persists, you may have to reset your iPhone’s settings. This will set your phone back to factory settings. However, you will not lose any data stored on your iPhone. Try this as a last resort only since setting up all the settings again will be quite a hassle. To reset all the settings it is the same procedure as resetting your network settings. You just have to choose the option to Reset All Settings in the last step. After doing that, try downloading the update again. It should work this time.
11. Update your iPhone using a computer
If none of the above-mentioned ways works for you, and you do not want to reset any of your settings, you can update your iPhone using a Mac or a Windows computer. You can find many guides online that will help you through that process.
Conclusion
Lastly, if absolutely nothing works and you do not have access to a computer, you will have to wait until the issue gets resolved by itself. This common problem may appear whenever a new update is available. Since it is due to overloading on Apple’s servers, it can get fixed on its own in some time if you have the patience to wait that long.
Disclosure: This Post is Sponsored by Ultfone.