Just a few weeks ago, Microsoft announced its Windows 11 operating system for PCs. The Developer Preview for Windows Insider has already been rolled out, and the beta program of Windows 11 has already started. The users under the Beta program of Windows 11 have already started receiving Windows 11 on their compatible PCs. But there’s one catch: to be officially eligible for Windows 11, your system must be on par with hardware system requirements, which include a TPM 2.0 chip, a minimum of 4GB of RAM, a 64-bit chip, and much more. Many users use old systems, and their PCs aren’t compatible with the latest Windows 11. Well, for those, we have a solution. In this post, we will be discussing how to bypass Windows 11 hardware system requirements.
Bypass Windows 11 Hardware Requirements with WinPass11
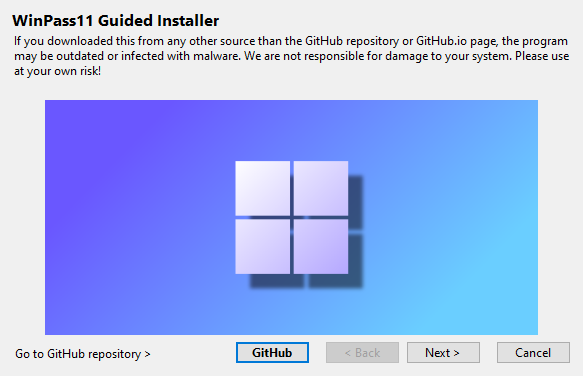
As for the hardware requirement, your PC should have been equipped with 4GB of memory, a UEFI motherboard with Secure Boot, and a TPM 2.0 security chip. Many old systems don’t meet the minimum system requirement. By bypassing the hardware requirement, one can unofficially install the Windows 11 operating system on a PC. There is an open-source software, namely WinPass 11 Guided Installed. This open-source software allows anyone to install the Windows 11 Operating system on an ineligible PC. In the previous method, you have to either lose all of your data or take a backup. But one of the big advantages of this software is it allows you to update from Windows 10 to Windows 11 without losing files and data. All of your personal applications and user settings will be kept safe. Let’s see how you can use the software and install Windows 11 on your Laptop/PC.
- More Information: Visit Here
- Download WinPass 11: Visit Here
Steps to Install Windows 11 on an Unsupported PC using WinPass11
- First of all, install the WinPass 11 tool using the above link.
- Now go to settings, join the Windows Insider Program, and set the channel to Developer of Release Preview.
- Now run the WinPass 11 (You can run it straight by double-tapping on the .exe file).
- On the first page, click on the Next button, then click on Clean (Only if you have tried to install Windows 11 before; if not, skip this), and lastly, click on the Next button again and proceed.
- Now, on the third page, click on the APPLY button; it will now show a pop-up message; click on OK.
- Now, at last, click on the SETTING button; it will redirect you to Settings, and now check for the Windows 11 update.
- Hurray, you will now successfully get the Windows 11 update on your PC.
- Tap on Install; the system will automatically download and install Windows 11 on your Windows 10 PC.
- Your data will remain safe, and recent settings and applications will remain there.
So that was it for the post; if you have followed all the steps correctly, you have the Windows 11 update on your PC. Thanks for sticking with us till the end of the post; we hope you have liked the method and followed all the steps correctly. Whether the method worked for you or not? Do let us know by dropping a comment down below.